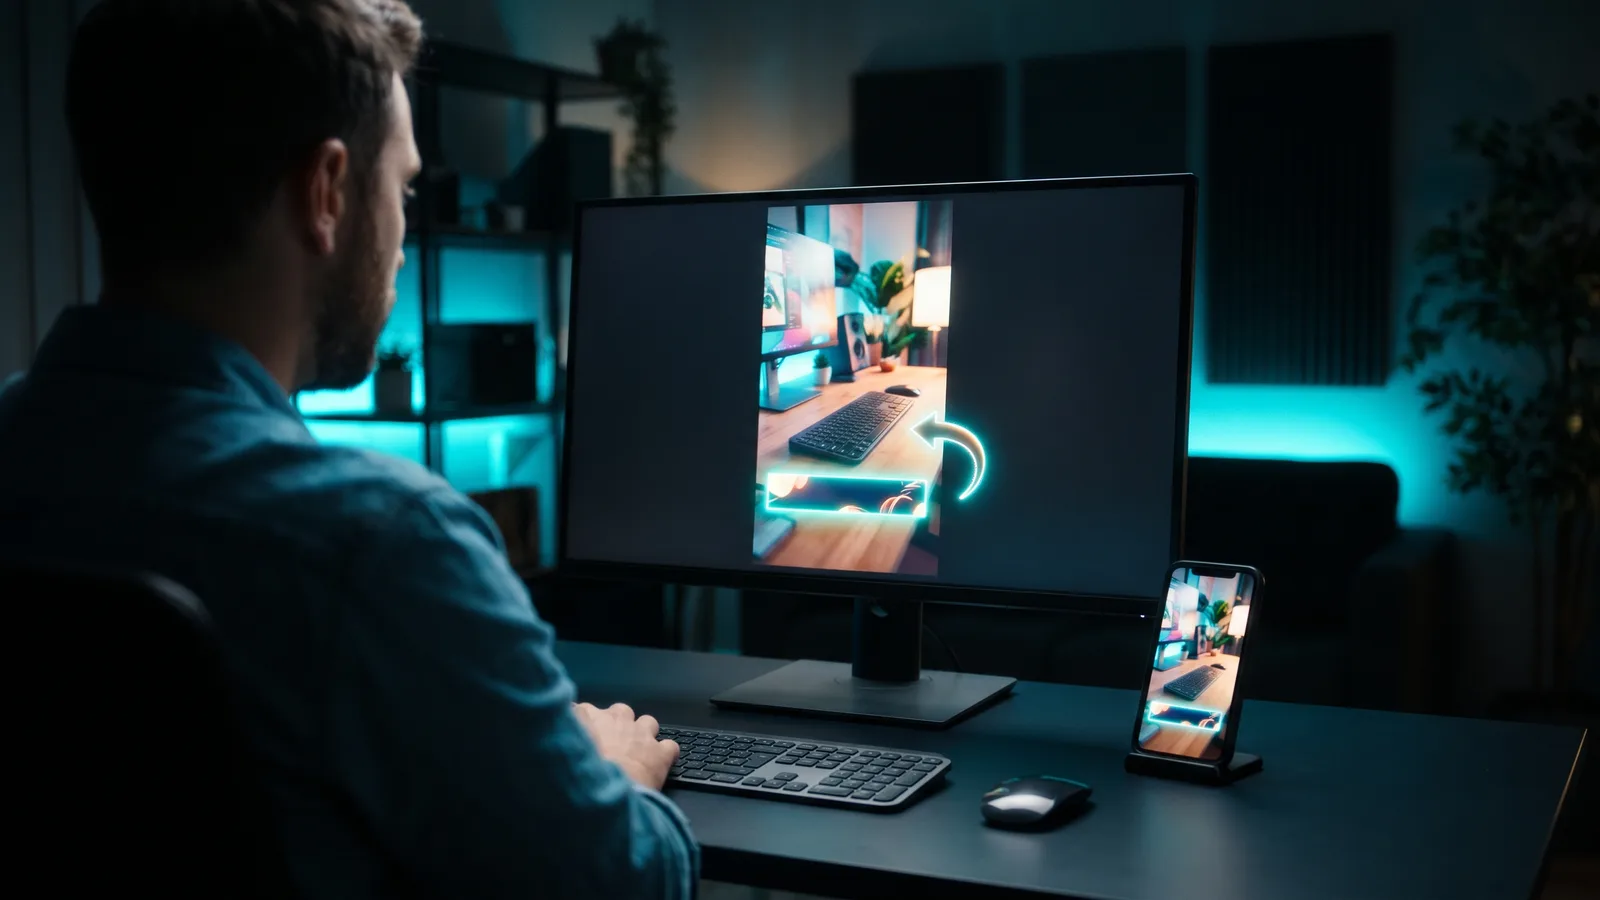
To convert a horizontal video to vertical, set your project to a 9:16 frame (usually 1080×1920), then fill it one of four ways: crop in on the subject, place the full shot over a blurred background, use a split-screen, or let AI auto-reframe follow the subject. Then rework text and captions for the narrow frame and export.
Key takeaways
- Vertical means 9:16. Export at 1080×1920. YouTube Shorts accepts uploads up to 1080p, and TikTok asks for at least 720p.
- Four methods: crop, blurred background fill, split-screen, or AI auto-reframe with subject tracking.
- Built-in tools exist: Premiere Pro has Auto Reframe, CapCut has Auto reframe (in some regions), DaVinci Resolve Studio has Smart Reframe, and YouTube can turn your own video into a Short.
- Reframing moves the picture, not your titles. Redo text and captions for the vertical frame, and keep them away from the app's buttons.
- Our pick is ZippyClip. It reframes to 9:16 with subject tracking, adds captions and posts the result for you.
What are the ways to convert a horizontal video to vertical?
There are four main methods. Pick one based on what's in the shot and how much of it you need to keep.
1. Crop to 9:16
Cropping cuts off the sides and keeps the middle of the frame. It fills the whole phone screen, but anything near the edges is lost. It works best when one person or product sits near the centre.
2. Blurred (or coloured) background fill
This keeps the full horizontal picture and places it in the middle of a vertical frame. The empty space above and below is filled with a blurred copy of the video, a colour or an image. Nothing is cropped, but the actual video becomes a small strip in the middle of the screen.
Use it carefully: Instagram says it shows reels with borders less. Google also says horizontal ads on Shorts are shown with a blurred top and bottom.
3. Split-screen
A split-screen stacks two parts of the original frame, one above the other. It suits two-person interviews and podcasts, or a screen recording plus the speaker's face. The AI clipper Klap offers split-screen, screencast and gaming layouts.
4. AI auto-reframe with subject tracking
Auto-reframe finds the subject in each shot and moves the 9:16 crop to follow it, so you get a full-screen vertical video even when people move around. Still check every shot and fix any where the AI picked the wrong subject.
What size should a vertical video be?
Export vertical videos at 9:16, 1080×1920 pixels. That matches YouTube Shorts' 1080p upload maximum. Here's what each platform says, as of October 2026:
- YouTube Shorts: up to 3 minutes, square or vertical aspect ratio, max 1080p upload. A horizontal file won't count as a Short.
- TikTok: its creative guide recommends vertical 9:16, at least 720p, with key content inside the safe zone.
- Instagram Reels: according to Instagram's Help Center (as quoted by a third-party guide), Reels accept 1.91:1 to 9:16, with at least 720 pixels and 30 frames per second. A 16:9 video stays inside the frame with empty space around it.
Also export a clean file. TikTok keeps reuploads with another app's visible watermark out of the For You feed, and Instagram shows watermarked reels less.
How do you convert a horizontal video to vertical in Premiere Pro?
Use Auto Reframe Sequence. Adobe documents the basic steps. The motion settings and Clip Nesting below come from editor Larry Jordan's walkthrough, which notes it creates a separate vertical sequence and leaves your horizontal edit alone.
- In the Timeline, select the sequence you want to convert.
- Right-click it and choose Auto Reframe Sequence… (or go to Sequence > Auto Reframe Sequence).
- Set the target aspect ratio to Vertical 9:16.
- Pick a motion setting: Slower Motion for locked-off interviews, Default for most videos, Faster Motion for fast action.
- If clips already have motion keyframes or speed changes, turn on Clip Nesting to keep them.
- Click Create. Premiere analyses the motion and reframes each clip.
- Fix any shot in Effect Controls with Position, Scale and Rotation. Add keyframes if the subject moves.
How do you convert a horizontal video to vertical in CapCut?
Use CapCut's Auto reframe, or a canvas background if you don't want to crop. CapCut says Auto reframe is "available in specific regions" and doesn't clearly say whether it needs Pro, so you may not see it.
Desktop (Auto reframe):
- Import your video and drag it to the timeline.
- Select the clip and open the Video section in the right-hand panel.
- Turn on Auto reframe and set the Aspect ratio to 9:16.
- Adjust Image stabilization and Camera moving speed, then click Apply.
- Click Export.
Mobile: start a new project, import the video, tap the clip, tap Auto reframe, choose 9:16, tap the tick, then export.
No-crop version: set a 9:16 canvas, then fill the background with a blur, colour or image. On mobile, tap Canvas to change the aspect ratio.
How do you convert a horizontal video to vertical in DaVinci Resolve?
Use Smart Reframe, which is in the paid DaVinci Resolve Studio only. These steps come from the Resolve 18.6 manual and Larry Jordan's Resolve 19 walkthrough, so menus may differ in the current version.
- In the Media Pool, right-click your timeline and choose Duplicate Timeline. Don't change Project Settings, because that affects every timeline.
- Right-click the copy and open Timeline Settings.
- Untick Use Project Settings, then tick Use vertical resolution.
- Leave Mismatched resolution on Scale full frame with crop.
- Select all the clips, open Inspector > Video > Smart Reframe and click Reframe.
- Check each clip and adjust Transform > Position > X where needed.
Smart Reframe's Auto mode lets the Neural Engine pick the subject (the only mode for several clips at once). Reference Point lets you draw a box around it. You need a timeline of individual clips, not one exported movie file.
Can YouTube turn a horizontal video into a Short?
Yes, for your own public videos. YouTube's Edit into a Short turns a section of a long video into a Short.
- Open the watch page of your video.
- Tap Remix > Edit into a Short.
- Select up to 60 seconds of the video.
- Tap Layout to choose a different layout.
- Tap Next, add text or filters, then upload.
The Short links back to your original video. Private videos, unlisted videos and videos with third-party copyright claims can't be used, and you can't add Audio Library music. If you don't see the option, go to YouTube Studio and tick "Allow people to sample this content" under Shorts remixing.
It's free, but manual, capped at 60 seconds and YouTube-only. For more ways to cut long videos down, see our guide on how to turn long videos into short clips.
How do you keep faces and text in frame?
Keep faces and text in the centre of the frame, away from the edges where apps draw their buttons. Auto-reframe only moves the picture. Titles and graphics made for a wide frame have to be redone.
- Rebuild titles. Any text from the horizontal version will be cut off or tiny. Recreate it for 9:16.
- Keep captions off faces. Don't cover the speaker's mouth, hands, the product or on-screen text. People who lip-read need to see the mouth.
- Watch the right side and bottom. On Shorts, the like, comment and share buttons sit on the right. If the bottom is crowded with controls, move captions to the top-centre.
- Use 1–2 short caption lines with strong contrast.
- Preview on a phone. Platforms don't publish exact safe-zone percentages, and phones crop the edges differently.
Want captions that pop word by word? See how to make word-by-word animated captions.
Which tool is best for converting horizontal video to vertical?
It depends on whether you need just the reframe or the whole job: reframing, captions and posting. ZippyClip is made by the team behind this blog.
| Tool | Best for | Key features | Price / free option (as of Oct 2026) | Watch-outs |
|---|---|---|---|---|
| ZippyClip (our pick) | Businesses and creators who want vertical clips reframed, captioned and posted | Smart 9:16 reframing with subject tracking, word-level captions, auto-posting to 5 platforms on a schedule | Free download with 50 API tokens (watermark); Pro removes the watermark | Desktop app (Windows and macOS); TikTok publishing is Pro |
| Adobe Premiere Pro | Editors who want precise, keyframe-level control | Auto Reframe Sequence, motion presets, Clip Nesting | US$22.99/mo (annual plan, billed monthly); 7-day free trial | Paid subscription; you redo titles and post yourself |
| CapCut | Quick conversions on desktop or phone | Auto reframe with stabilization and camera speed; blur, colour or image backgrounds | Free plan; Pro $19.99/mo | Auto reframe only in some regions; unclear if it needs Pro |
| DaVinci Resolve Studio | Editors who prefer a one-time purchase | Smart Reframe with Auto or Reference Point subject selection | Studio list price $295 (on sale when checked); free version has no Smart Reframe | More setup steps; Smart Reframe is Studio-only |
Prices can change, so check each tool's pricing page before you buy.
1. ZippyClip (our pick)
ZippyClip is our pick because converting to vertical is usually one step in a bigger job. You also need captions, a title and a post on every platform.
Its smart vertical reframing uses subject tracking to make 9:16 videos for TikTok, Reels and Shorts. Word-level captions can be styled your way and even render behind the speaker. From a long recording, viral moment detection finds the moments with the highest viral potential and cuts them into separate shorts, captioned and resized.
You can ask for edits in plain English, like "Cut this long video into 3 viral shorts," or fix a shot by hand in the timeline editor.
Then it posts for you. ZippyClip publishes to YouTube, TikTok, Facebook, Instagram and X from one screen, on a schedule you set (every 2 hours, 6 hours or daily). The AI writes titles, descriptions and hashtags for each platform. With watch folders, you can drop a horizontal video into a folder and it gets edited and published with your saved prompt.
It's a desktop app for Windows and macOS, and your videos stay on your computer. It's free to start with 50 API tokens, and scheduling is included, but free exports carry a watermark. Pro removes the watermark and adds TikTok publishing. More on that in our guide on how to auto-post videos to TikTok, Instagram and YouTube.
2. Adobe Premiere Pro
Premiere Pro suits editors who want keyframe-level control of every shot. The downsides are the subscription and learning curve, and it won't redo your titles or post for you.
3. CapCut
CapCut is a free starting point on desktop or phone, with a blurred-background option when you don't want to crop. Auto reframe is only in some regions, it's unclear whether it needs Pro, and you post the videos yourself.
4. DaVinci Resolve Studio
Resolve Studio is a one-time purchase rather than a subscription (list price $295; on sale when checked in October 2026). Smart Reframe isn't in the free version, and the vertical timeline takes more setup steps.
Sources
- YouTube Help: Upload YouTube Shorts
- YouTube Help: Create YouTube Shorts
- YouTube Help: Create YouTube Shorts from your videos
- Google Ads Help: YouTube Shorts ads
- TikTok Ads Help: Creative best practices
- TikTok Community Guidelines: For You feed eligibility
- Instagram: Ranking explained
- SuperProfile: Instagram Reel size (quoting Instagram's Help Center)
- Adobe: Auto Reframe for socials
- Adobe Premiere
- Larry Jordan: Auto Reframe in Premiere Pro
- Larry Jordan: Smart Reframe in DaVinci Resolve 19
- DaVinci Resolve manual: Smart Reframe
- Blackmagic Design: DaVinci Resolve
- Blackmagic Design: DaVinci Resolve Studio
- CapCut: Auto reframe
- CapCut: How to make a horizontal video vertical
- CapCut: Video resizer
- CapCut: Vertical video subtitle placement tips
- CapCut: Pricing
- Klap
- RNID: Captions on TikTok